Can you install ROPE lights on your DECK and/or DOCK? YES - For several years we've had rope lights on our dock that started with enhancing the dock location throughout the holidays. They're easy to set up, fairly affordable and puts out just the right amount of subtle, indirect, ambient lighting.
For those who wish to have rope lighting as an extra long-term type of accent illumination, there are rope lights constructed for this function. WATERPROOF FLEXIBLE LED STRIP lighting are particularly produced the outdoors.
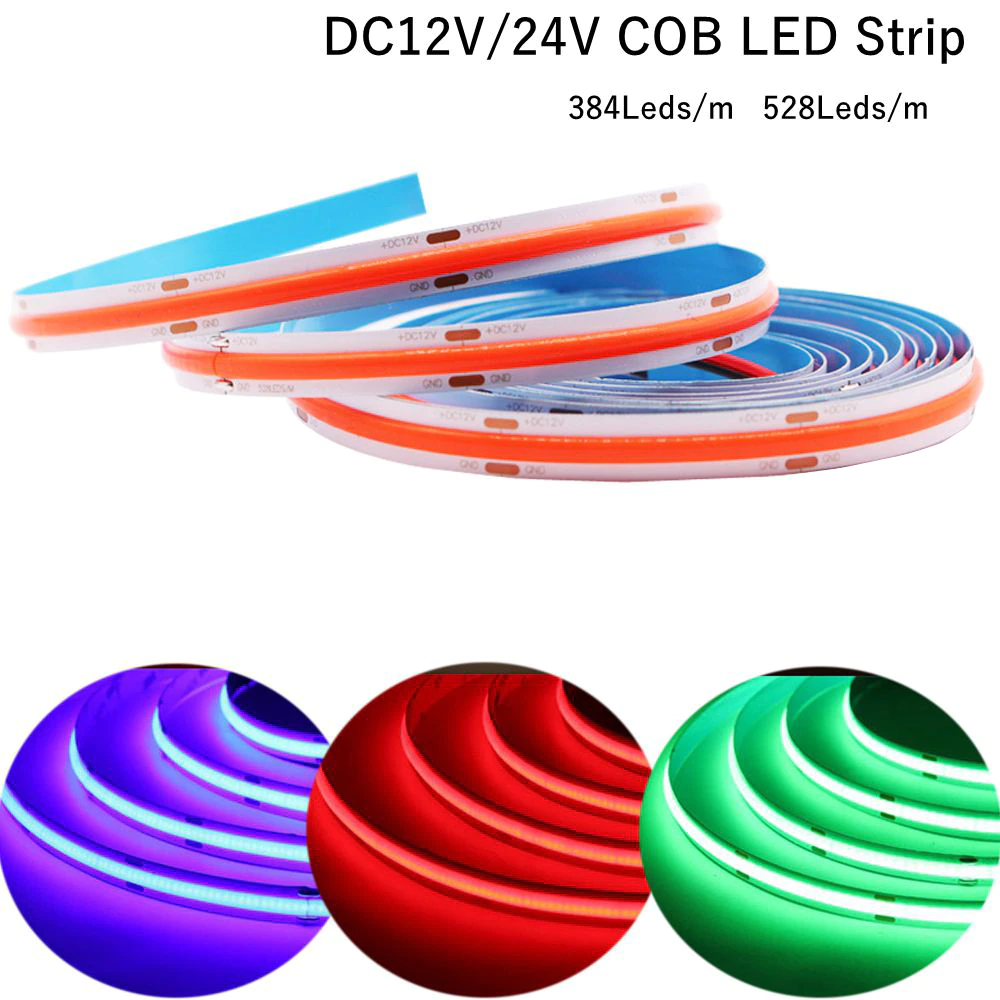
Waterproof Flexible Strip LED lights supply the excellent service to creating energy-efficient, elegant accent and mood lights. Strip lights are discreet, versatile, and can be cut to fit your location, and since they feature a strong adhesive, they can be placed basically anywhere. Available in multiple shades you can produce unique effects on virtually any type of surface area, marine, vehicle and/or residence.
Actions to Mount Rope Lights: The simplest as well as most usual method to mount rope lighting is to accomplish externally utilizing cord clips. You require wire clips, a hammer, a power source and the rope illumination. The time required for installation relies on the size of the rope.
1. Decide where to mount the rope lights - Pick where you want to install the rope lights. Most of the times, the rope illumination is mounted on the ceiling, the roof trusses or on the floor outdoor decking in order to generate the preferred outcomes. Consider the position of the source of power to make sure that your rope reaches the outlet.
2. Mount the rope lights - Utilize the hammer to clip the lights externally. Slide the rope in the open arcs of the cable television clips throughout the setup as you twist it in your desired pattern. Make certain that the hammer does not miss out on the target while hitting the clips due to the fact that it can ruin the rope lighting.
3. Check their outcome- Turn off the socket, and connect the rope illumination in. Make use of the expansion cord if the length of the rope illumination does not reach the power outlet. Switch the outlet on to see if it lights.
Quick solution to one of the most usual inquiries
Do I need a controller for my strip lights? A controller is optional but includes the ability to turn your lights on and off and also regulate various other functions such as dimming.Can I link multiple strips? Strips can be attached end to wind up to various meters, relying on your item.
Actions to Set Up Flexible LED Strip Lights with Solderless Connectors:
1. Products Needed - Have all your materials prepared. You will certainly need scissors, LED versatile strip lights, an adapter, leader (if required), and a collection of hands.
2. Gauging the number of feet of LED strip you need - You might have your LED strip light sent to you in a roll (16 feet) or by the foot, depending upon the quantity purchased. Decide how much adaptable LED strip lights you will certainly require for your job. Considering that the LED strip can just be reduced every 3rd LED, you may have to go somewhat over or under your desired spec.
3. Just how to reduce the LED strip - As you can see below, the adaptable strip light can just be cut along the designated lines. Take a sharp pair of scissors as well as cut along the line.
4. Focus on favorable as well as negative markings - CRUCIAL: Notification the positive and also adverse sides of the LED strip light. This is very important for the next couple of steps. Often when you reduced the LED strip light, things can obtain mixed around.
5. Intro to the port - Each adapter has two sides. To insure you have the right side up, ensure the broader of the white sides faces up. This is the top. BE GENTLE as well as pull the securing tool out away from the cords. Do not pull on the cables to do so, as the connector is delicate.
6. Affixing the adapter to the LED strip - IMPORTANT: Color does not constantly matter! Ensure you comply with the silver lining of the flex strip down via the connector cord to the power supply. Red/black can either indicate (+) or (-) depending upon what side you have actually hooked the adapter to.
7. Safeguarding the tray to the LED light - In the example listed below, if we were to attach the port to the opposite side of the flexible strip light, the red would certainly be negative and the black favorable. Next, carefully protect the locking tray back in position, linking the terminals of the LED adaptable strip light to the connector. Be gentle and make certain the placing tray is securely closed, or the lights will certainly not work.
8. Linking the LED strip to power - You are currently all set to plug your LED Flexible strip light to the LED power supply. Suit the favorable and negative markings with the favorable and also adverse cables from the power supply. Ensure the power is off when you do this.
If your strip lights do not brighten:
1. Cable shade does not constantly matter! Make sure you follow the silver lining of the flex strip down through the connector cable to the power supply. Red/black can either suggest (+) or (-) depending on what side of the LED flex strip you have hooked the connector to.
2. An additional typical problem is that the port might be mounted inverted; repeat steps over and also try again.
3. Also, SEE TO IT the tray is shut all the way. Be mild!
4. Inspect your power supply as well as make certain it is hooked up properly, with appropriate (+) as well as (-) as well.
5. The amount of feet of LED strip are you utilizing vs just how big your power system is? If you are making use of 1 reel of 24 v Ultra bright with e 2.5 amp power system, it will certainly not function since the power device is as well tiny.